Last night I had the chance to connect with Bret, from Bret’s Table; Taylor, from Greens & Chocolate; Anna, from Garnish with Lemon; and Dr Laura Dalquist from the Swine Vet Center. Our roundtable discussion was moderated by Leah Beyer, who I was excited to finally meet in real life. The conversation was so good, that I had no problems with my 2 1/2 hour drive home from Bloomington. I arrived home just before the stroke of midnight, yet couldn’t fall asleep for a couple more hours. As I was going through different parts of our conversation (which you’ll hear more about later), this quote kept running through my mind…
Category: Pork
Meaty Monday – Pumpkin Chili
Need a fast, easy chili recipe? This pumpkin chili can be taken from the frozen meat, to the table in about 35 – 40 minutes.
I am horrible at making menus for the week. I tend to decide at the last minute what we should eat that meal. I know life would be easier if I could plan and shop ahead, but old habits are hard to break!
I love this recipe, because it is healthy, and fast. There is no shame in using canned or frozen ingredients! Keeping extra canned and frozen ingredients on hand works well when you live in areas where the winters make running to the grocery store impossible at times.
We are pig farmers, and have a lot of pork on hand, so I use ground pork for this recipe. Feel free to use whatever ground meat you have on hand. Since I am usually a last minute cook, I thaw my ground pork in the microwave. While I’m thawing the meat, I start to cook the onions in olive oil. My eyes run like a river when I cut onions, so I use Ore-Ida frozen chopped onions. I measure out the correct amount, and toss them in the pot frozen. No need to thaw before use! To make things easier, I measure out the spices and bouillon into a small ramekin or bowl while the onions are cooking.
After the onions are cooked down, add the ground meat, and brown it until it is cooked thoroughly. Add the diced tomatoes, pumpkin, black beans, and vegetable stock, stirring to combine. Sprinkle the chili powder, cumin, pepper and beef bouillon over the top, then stir in until the chili is mixed well. At this point, give the chili a taste and see if you need to add salt. I typically leave the salt out, and it is just fine.
Bring the chili to a simmer, and let it cook for 20 minutes. If you are thinking ahead, you can put this in a slow cooker on low for a few hours. To serve, ladle the chili into bowls, and top with a bit of shredded cheese. If I have a mix on hand, I’ll whip up some honey cornbread to go with it.
Here’s the recipe:
1 Tablespoon olive oil
1 cup chopped onion
1 teaspoon minced garlic (I like to use garlic powder, adding it with the other spices)
1 pound ground pork
1 (14.5 ounce) can diced tomatoes
1 can pumpkin puree
1 ½ Tablespoon chili powder
1 teaspoon cumin
½ teaspoon pepper
1 Tablespoon granulated beef bouillon
Salt to taste
1 can black beans (rinsed and drained)
1 cup vegetable stock (can use more if you like your chili more soupy)
Heat oil in large skillet or Dutch oven over medium heat, and sauté the onion and garlic until tender.
Stir in the pork, and cook until evenly brown.
Mix in tomatoes, pumpkin and black beans.
Stir in beef bouillon and vegetable stock.
Season with chili powder, cumin, pepper, and salt.
Reduce heat to low, cover, and simmer for 20 minutes or put in slow cooker.
Serve with shredded cheddar cheese over top if desired.
Serves 6
Going Old School – Boneless Pork Loin Supper
When I am having troubles with inspiration on what to make for supper, I’ll ask Jonathan to bring a random package of meat in from the freezer. This time, he brought in a boneless pork loin roast. We put it in the fridge to thaw overnight, so I had a few hours to decide what I wanted to do with it.
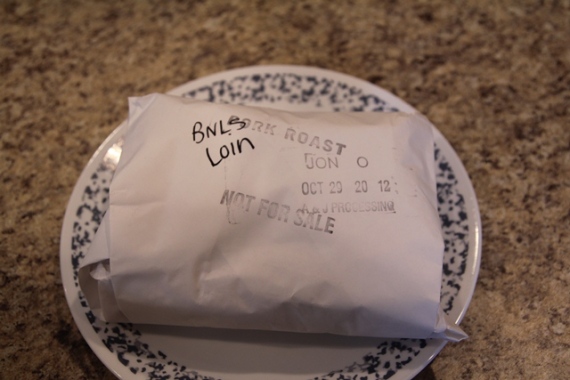
Typically I like to use the Crock Pot, but since I wasn’t roasting any veggies with this one, I decided to use the oven. I have a Corning French White baking dish that we received for a wedding gift 24 years ago. It is the perfect size for most roasts.

Preheat your oven to 350 degrees. It is a good idea to spray the baking dish with non-stick spray. Unwrapping the roast is a little like unwrapping a Christmas present. You know that you are going to love what’s inside, you just don’t know exactly what it looks like. This one did not disappoint!
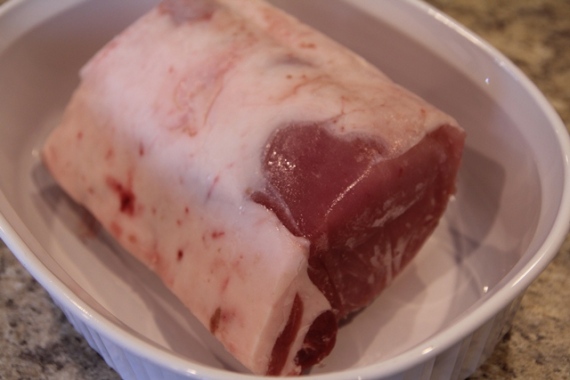
The layer of fat on top of this roast was beautiful! It wasn’t too thick, yet it covered nearly the whole top. When you are shopping for roasts, look for one with a layer of fat like this one. It helps keep the meat moist while it is roasting, yet isn’t so thick that your seasonings can’t flavor the meat.
Speaking of seasonings, I decided to go old school with a twist. I don’t know what is tradition in your area, but around this Scandinavian area, we don’t get too wild with the spice.
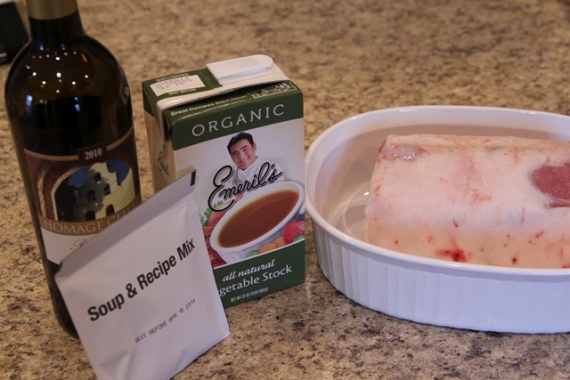
I love the Hy-Vee brand of dry onion soup mix. It is inexpensive, and has a great flavor. Emeril’s Vegetable Stock has a good flavor, and isn’t too salty. The red wine may break some rules, but I really have no clue what wine is supposed to go with what meat. I just use what I like…as you should! If you don’t like wine, use apple juice.
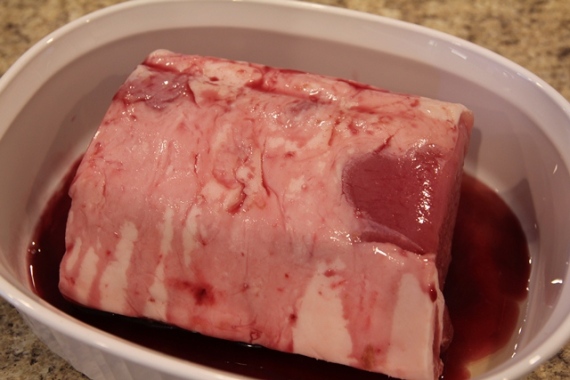
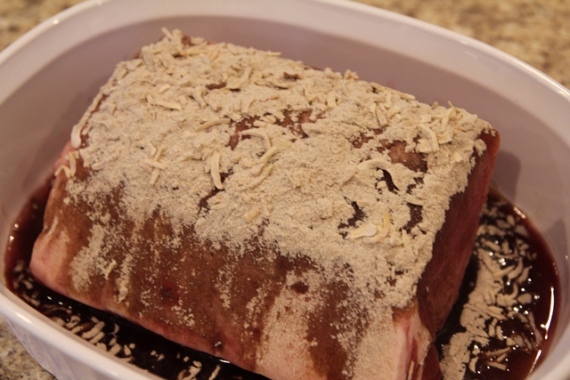
Pour the liquids over the roast to get the surface moist. I used just under a cup of liquid total. After the liquid is in, sprinkle the dry onion soup mix over the top. It should look like this:
Cover the whole thing with aluminum foil, and place on the middle rack of the oven.
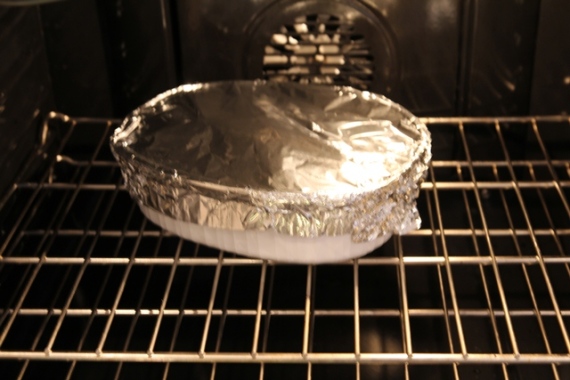
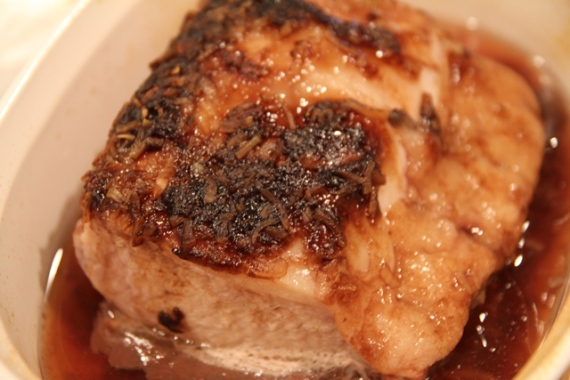
This roast was still slightly frozen when I put it in, so I set the timer for 2 hours. I took it out about 5 minutes before the timer went off, and let it rest while still covered. If you are using a meat thermometer that you leave in while it is cooking, set your timer for 145 degrees. This is what it looked like after the rest period:
I’m always a little nervous when I make the first cut into a roast. I don’t want to mess it up with a bad slicing job! I should mention – it is okay for the center to have a bit of pink in it if the meat reached 145 degrees. The first few slices revealed a slight pink, and lots of juice!
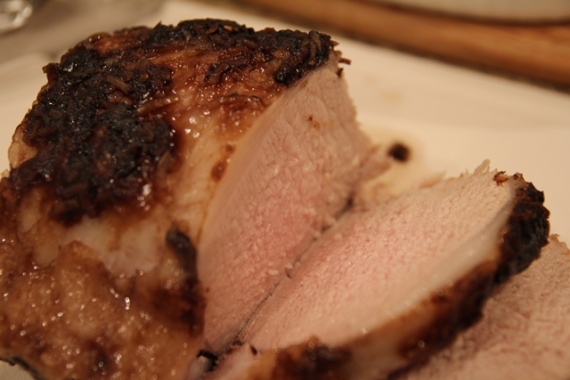
I sliced the roast into 3 ounce portions, or one slice per serving. If you are weight conscious – as I am – one serving of lean pork roast is an excellent source of protein.
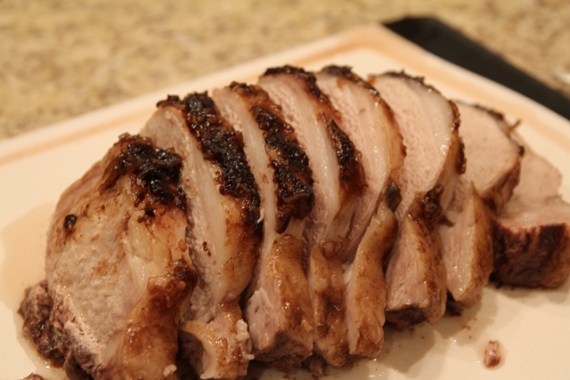
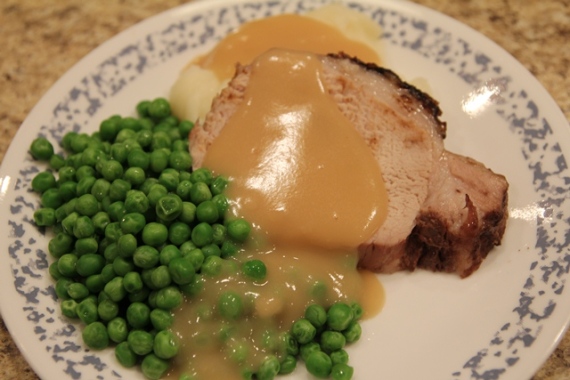
I went traditional with our sides. We love Bird’s Eye Baby Sweet Peas, mashed potatoes, and homemade gravy. One final photo before Jonathan and I devoured our supper. The meat was moist, and tender…sooo good!
I hope you are able to try a similar recipe soon!


